Caring for Your Quilt
How to make sure your quilt lasts a lifetime
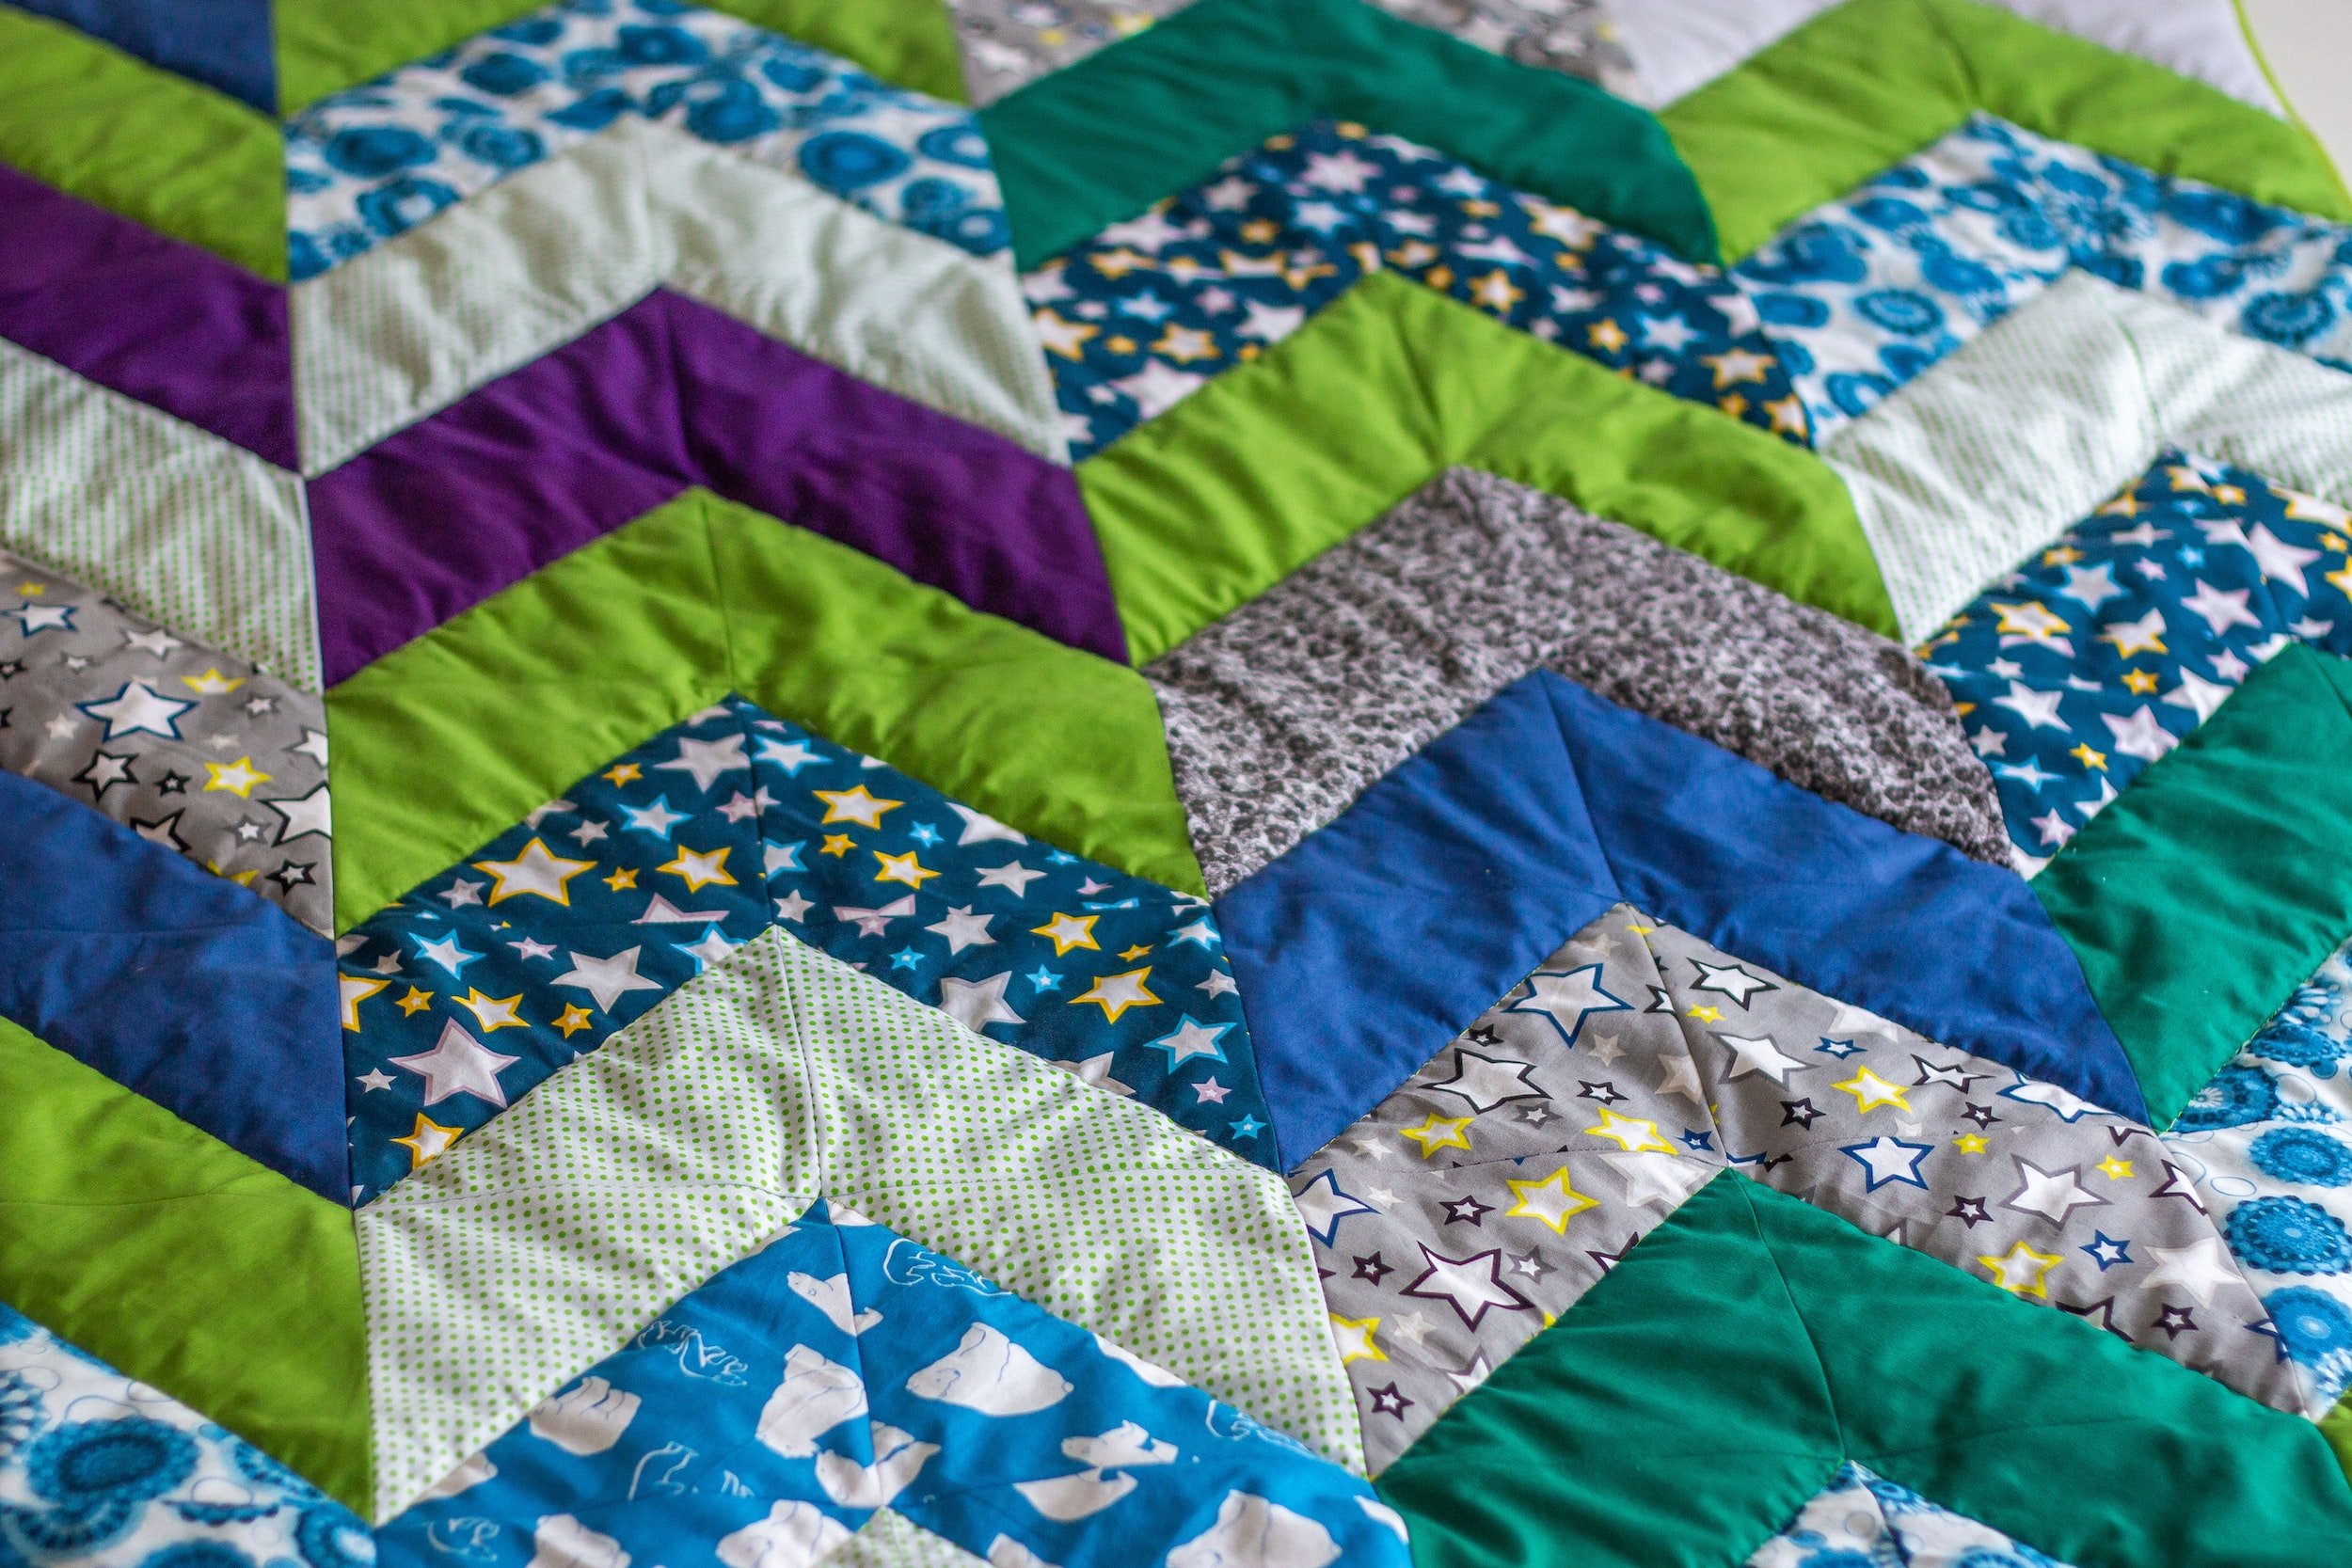
Many people do not know how to care for a quilt, and that is okay! It’s not like your usual blanket or throw. A quilt is made by piecing small pieces of fabric together, which means a lot of seams. You will find everything you need to know to be sure that your quilt lasts for generations!

Inspect the Quilt
Take some time to look over your quilt. You want to look for loose threads, stretched seams, or other issues before beginning the cleaning process. I do this with my quilts once completed. Over time, however, some threads may come loose with heavy use.
Make a note of anything that needs to be addressed and make any necessary repairs before moving on to the next steps.

Gently Brush the Quilt
If your quilt isn’t quite dirty, but only has pet hair or lint on it, maybe use a lint brush on it to remove any debris. Using a garment brush or lint roller, gently removes any stubborn pet fur. Ensure you are being careful to not use too much pressure - you don’t want to tear any stitches or fabric.

Wash Your Quilt
You will need to decide what washing method you would like to use when you are ready to begin: professional cleaning, machine washing, or handwashing. I, personally, machine wash. For information on how to properly machine was your quilt, or hand wash if you prefer, continue reading.
Handwashing is common among those who care for their hand-quilted, heirloom, and hand-appliqued quilts. These quilts tend to be more fragile and have more intricate piecing techniques than others. In addition, quilts made with vintage fabrics are best handwashed. The quilts I make are not hand-quilted, but are quilted using a sewing machine. The stitches done by hand tend to be looser and wider apart, therefore can pull apart easier after many washes.
If it is important to you, but you do not want to pay for professional cleaning, then stopping at the brushing step is a good option. If you want to help your quilt live a longer life, then hand washing is better than machine washing.
It might take a bit more effort, but a proper cleaning will help maintain the integrity of the fabric – more so than a washing machine. This will give it a longer life so you can enjoy it for many years.
Personally, I wash my quilts in the washing machine and have not encountered any issues as of yet.
Below you will find what you need to know in regards to washing your quilt, no matter how you decide to clean it. If you follow my advice, you should never have a problem with shrinkage or color-fastness for the quilts I make.
WASHING BY MACHINE
This is the method I use with my quilts. Even still, I only wash a quilt when it is absolutely needed. Spot cleaning works much better, as needed.
When you purchase a quilt from my website, it will be washed before shipping. I only use detergents that are allergen-free. I also use two Shout Color Catchers in this first wash. If your quilt is heavily dyed, has bright/vibrant colors, or deep/dark colors, I recommend using color catchers in the 2nd wash, as well.
If you prefer to NOT have your quilt washed prior to shipping, please let me know.
Set your washing machine to its gentle cycle
Select the cold-water setting.
Use a gentle, fragrance-free detergent.
To prevent dye bleeding, you can throw a couple of color catchers into the wash.
(Shout Color Catchers will catch dye that may bleed into the wash water – minimizing the impact on the rest of your quilt.)
You can purchase color catchers here. I use the Shout brand, but there are many others out there.
WASHING BY HAND
Test for colorfastness
Take the time to protect your quilt before washing, by testing the dyes. Test each color of fabric with several drops of water (and then with water/detergent solution) in an inconspicuous part of the quilt.
Let it soak in and then blot each spot with white cloth or paper.
If any color comes off the quilt, you must decide if you’re ok with color bleeding into the rest of the quilt. If the answer is no, then do not clean your quilt with water. If your answer is yes, a bit of color bleeding is ok, then proceed to the next step.
Ensure your tub or sink is clean
Soak quilt in room temperature water.
Do not use hard water as it will deposit minerals into your quilt.
If you see that the water is getting extremely dirty, then change out the water.
Use a mild liquid detergent formulated for dishwashing
Find a detergent with little coloring and fragrance.
Do not scrub, beat, or squeeze the quilt.
Use a sponge to press water through stubborn stains.
Complete a series of 5-7 clean water rinses
Each rinse should take at least 15 minutes.
Ensure the final rinse results in clear water.
DRYING YOUR QUILT
Once your quilt is washed, it is time to move on to the drying process
I recommend that you follow the air-drying instructions for quilts that you want to prevent fabric shrinkage and damage. Otherwise, follow the Machine Drying instructions. I have done both, depending on the time of year. If it is a nice day outside, I will air-dry my quilts. I tend to wash them and air-dry all on the same day, taking advantage of nice weather, if I can.
AIR DRYING
Wrap your quilt in a sheet and gently twist to wring out.
By using the sheet, you prevent tearing your stitches and fabric.
Using a sheet also makes it easier to move the heavy quilt to where it will be drying.
Use a flat rack to safely dry your quilt.
This prevents threads from snapping and causing damage to your quilt.
Alternatively, lay your quilt on top of a large thick blanket or towels to dry.
Use a fan to promote better circulation to aid in drying the quilt.
Pro Tip:
Many quilters like to dry their quilts directly in the sun; however, I don’t recommend this if you are trying to protect your quilt. This is because all light sources fade fabric colors. So, be mindful if you decide to use this method and try not to dry outdoors in direct sunlight for long periods of time.

Machine Drying
I recommend that you use low to no heat when using a dryer.
Tumble dry it on low.
Do not dry it all the way. Once damp, allow it to air dry to prevent damage from occurring.
STORING YOUR QUILT
Store your quilts in a dry area with low humidity.
Ensure the storage space is clean and well-ventilated to deter pests and rot.
Be sure to keep as much light off your quilts as possible to preserve their colors.
Prevent permanent creasing by changing the way your quilt is folded every so often. Long periods of time, folded, can cause deep and permanent creasing. Refold your quilts about once a month.
Use acid-free tissue or washed unbleached cotton muslin to line shelves, drawers, boxes, etc. to protect them from yellowing your quilt over time.
Ensure your quilts are located where the temperature is relatively stable year-round (around 62-72 degrees Fahrenheit).